👈 Home
To convert your PDF you have to import your PDF and click "Convert" button. After the conversion you will have the flipbook link ready to share or add on your website.
NOTE: For best performance, before the conversion please optimize, flat and compress your PDF (to reduce file size) with free online service: search in Google "Compress PDF online".
NOTE2: If the conversion doesn't work or is incomplete, read the next section "Wich PDF are supported".
1) We support files in format PDF/X or "FLAT PDF" (images, text boxes and other layers are integrated in the PDF and optimized for printing).
You can create a flattened version of your PDF using the "Microsoft Print to PDF": Open the PDF with your PDF Reader, click on PRINT button and choose the virtual printer "Microsoft Print to PDF".
You can also USE THIS ONLINE SERVICE TO FLAT YOUR PDF
2) All the PDF pages must have the same size. We don't support PDF with a cover and interior pages with different sizes.
For example we don't support PDF with 2 portrait pages onto a single side by side landscape page. So, when you create the PDF be sure that all pages are single pages.
3) The max size of PDF supported is 100MB.
NOTE: For best performance, before the conversion please optimize and compress your PDF (to reduce file size) with free online service:
USE THIS SERVICE TO COMPRESS YOUR PDF
4) Pay attention to the size of the PDF pages. If the page size is too large, the conversion will not work.
You can check the page size in the properties of your PDF Reader:
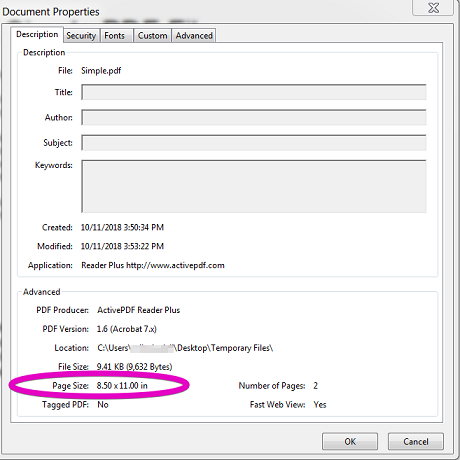
Your PDF must have standard page sizes, for example for A4 format the size should not exceed 210mm x 297mm (8.5" x 11")
To resize the pages of a PDF you can use this free online tool and set as output the STANDARD A4 FORMAT.
After the conversion you will get the link of your flipbook and the link to personalize your flipbook (admin link). Copy and save these links in a safe place.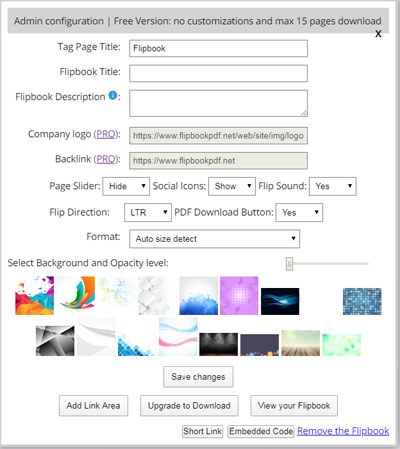
If you don't see the window of settings, please click on the gear icon in the top right of the page.
If you have a PRO / BIZ account, you can edit your flipbooks by logging into your Member Area.
Our flipbooks are created using only HTML5 and jQuery. Adobe has officially confirmed that Flash technology support is ending in December 2020. So if you have flipbook created with flash, we advise you to switch to our system to convert all flipbooks to HTML5
If you want to open the flipbook offline, you can download the flipbook, unzip it and finally open the "index.html" file. But if you want to save/share the flipbook through USB PEN DRIVE/DVD disk, the best solution is to download the FLIP BOOK SOFTWARE VERSION (for Windows) that is able to convert the PDF in a single .html or executable file.
Main Limitations of free version:
- you can convert max 3 PDF
- you can convert PDF with max 40 pages
- you can download flipbooks with max 15 pages
- your flipbook hosted in our server can display advertising
- watermark in your flipbook
- your flipbook can be automatically deleted if it doesn't generate traffic in the last month
Before the conversion you have to check that your PDF is optimized and compressed.
Open the admin link of your flipbook and edit the text boxes of title and description in the settings window.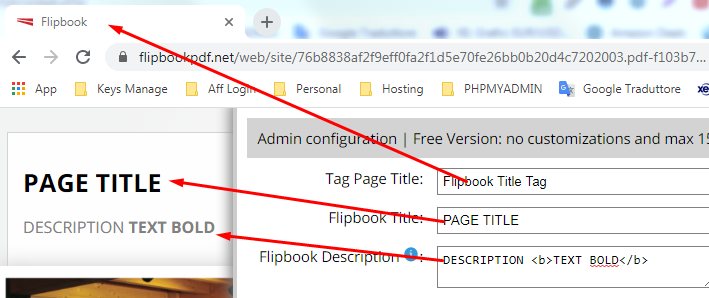
The description field support also html formatting tags.
Then click Save Changes button.
Open the admin link of your flipbook and add in the TAG PAGE TITLE three dashes.
For example you can type the page title tag "My Flipbook --- "
In this way in your flipbook html will be automatically added the meta tag "noindex" that will stop google to index your flipbook.
Then click Save Changes button.
Open the admin link of your flipbook and change the settings of Social Icons - PDF download icon - Page Slider dropdown menu.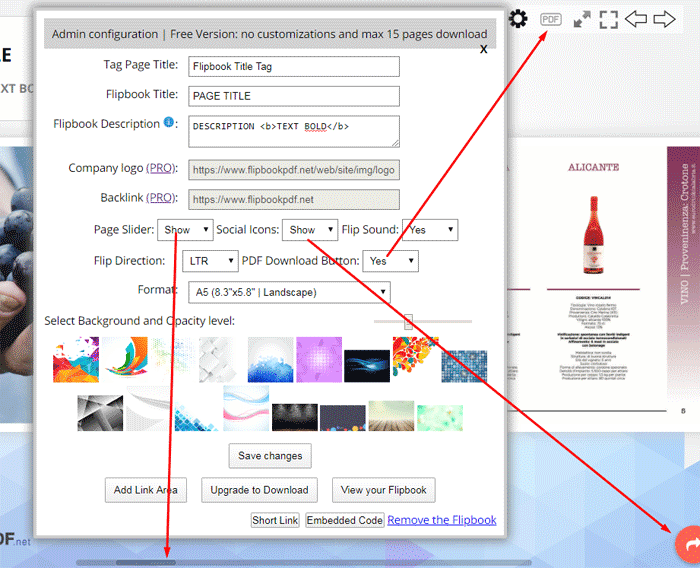
Then click Save Changes button.
Open the admin link of your flipbook and change the option of Flip Sound dropdown menu.
Then click Save Changes button.
Open the admin link of your flipbook and change the option of Flip Direction dropdown menu (LTR=left to right / RTL=right to left).
Then click Save Changes button.
Open the admin link of your flipbook and select your format from Formats dropdown menu.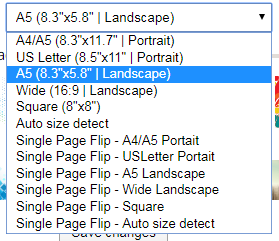
The "Single Page" formats will display one page at a time instead of two pages. The "auto size" format will retrieve the original size of your pdf pages.
Open the admin link of your flipbook and select the background and the level of opacity.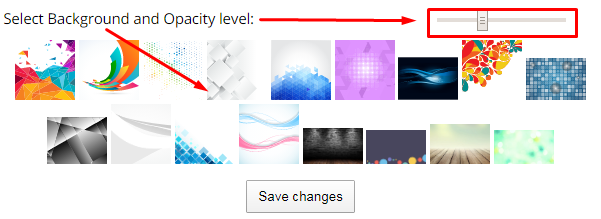
Then click on SAVE CHANGES button.
If you have a PRO account you can also upload your own background.
FlipbookPDF offers you to add hyperlinks to text/area in any page of your flipbook so that viewers can easily browse the webpage by clicking the links.
To add links, please click on the ADD LINK AREA button at the bottom of the window of settings.
This will open a new page, where you can select the page of your flipbook, draw (with mouse) the area where to put the link, choose whether to put a link to another page of the book or a link to an external site, and finally click on SAVE button.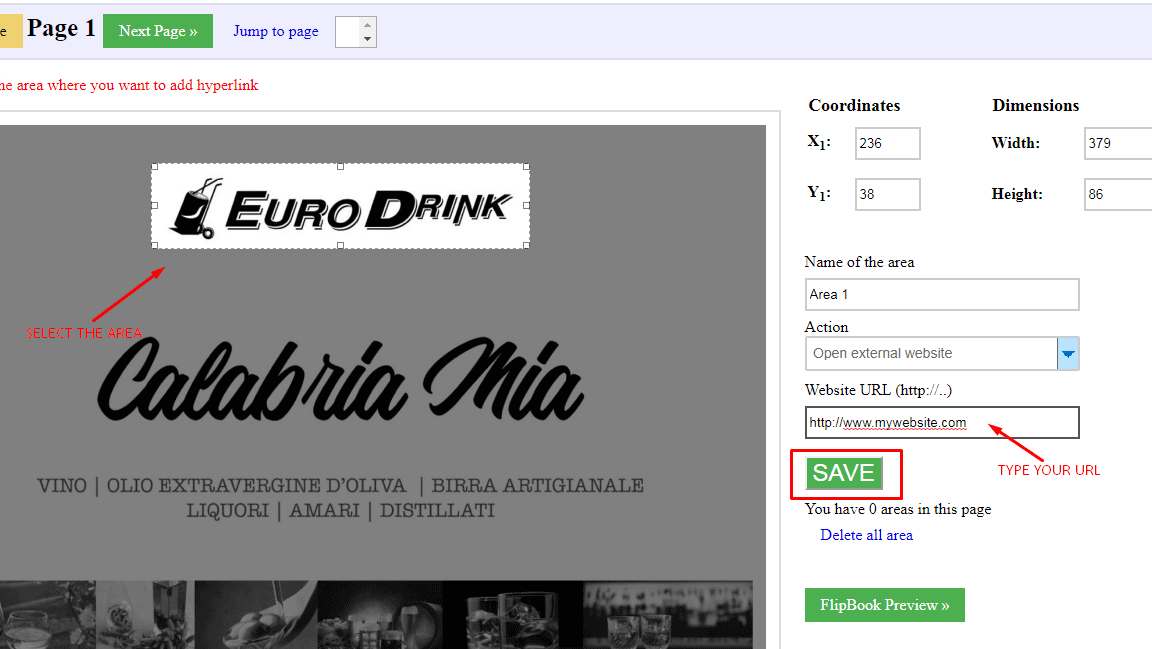
Q: I downloaded the flipbook and the links are not working, why?
R: The links work only if you upload the flipbook files in your server/hosting.
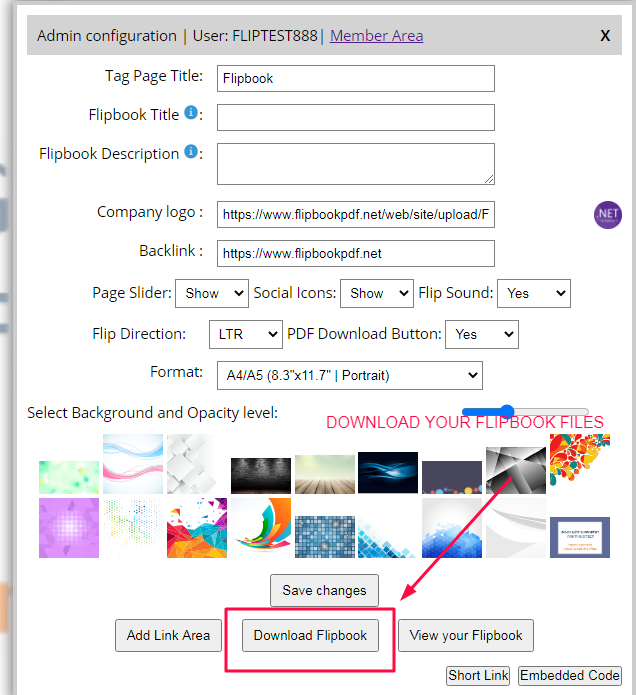
In the Free version, if your flipbook has less than 15 pages, then you can Download your flipbook files locally on your PC.
Go in your admin link of your flipbook and click on the DOWNLOAD link at the bottom
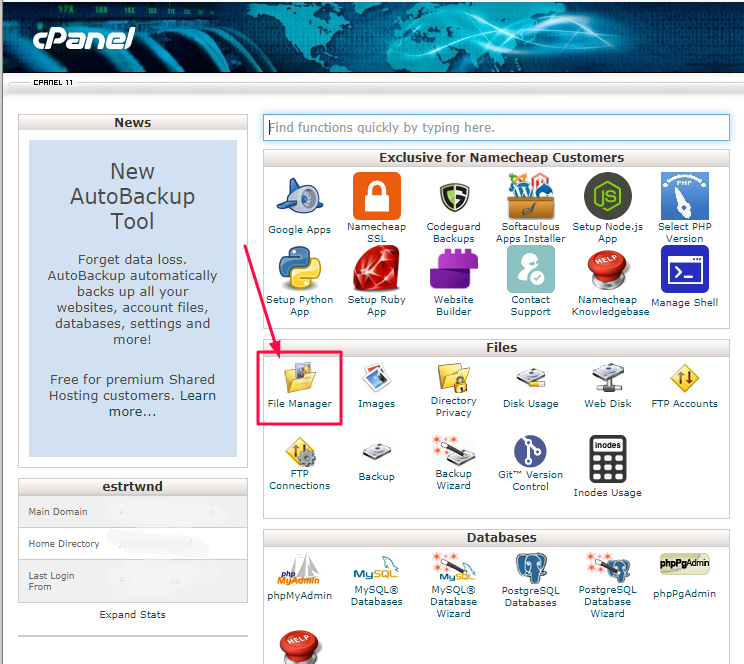
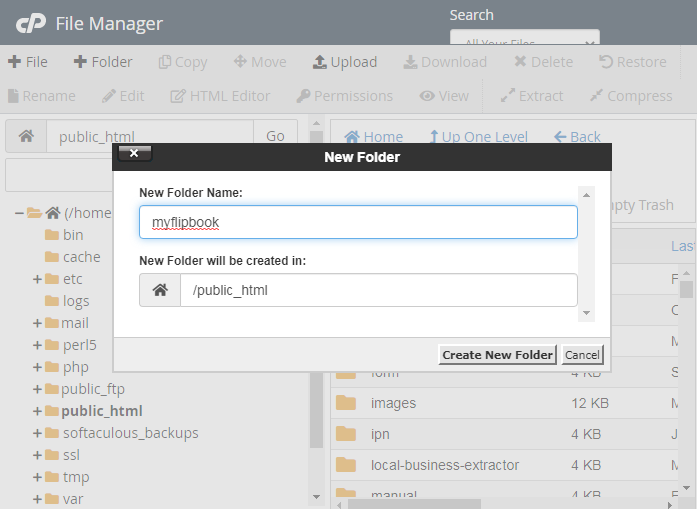
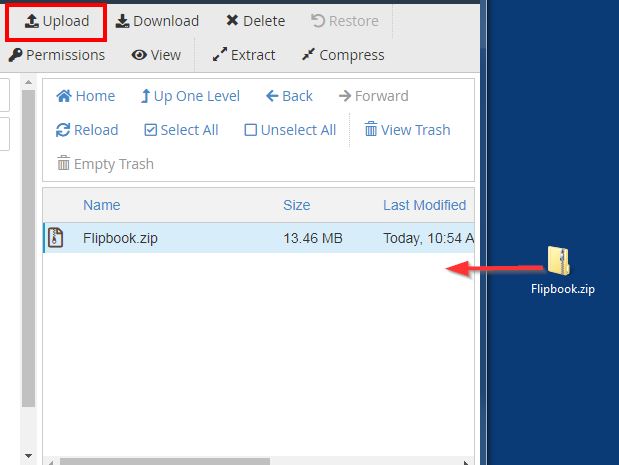
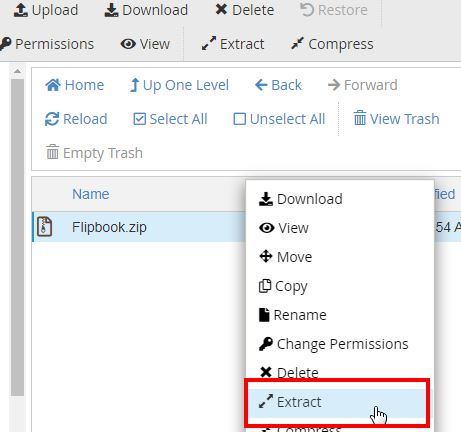
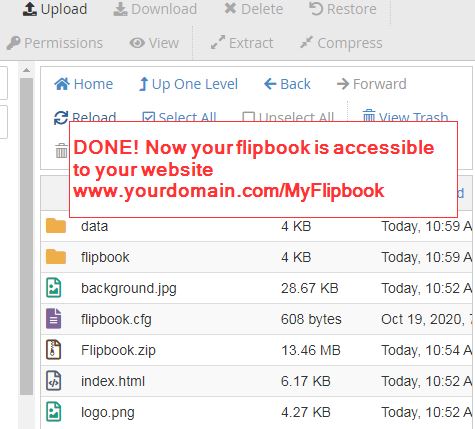
The download zip will contain all files (images, html and javascript files) ready to be uploaded in a directory in your hosting. You have to extract the files from the zip and then upload all files in a new directory on your hosting, via FTP or File Manager.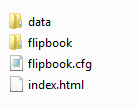
In this way the flipbook can be opened with your domain name (e.g. http://mydomain.com/myflipbook/ )
If you want to test before uploading, you can open the file "index.html" in the browser.
A new feature added is the short link option. You can use an external service like bit.ly or you can only to click on "SHORT LINK" button and automatically it will create a short link, ready to be copied or shared via facebook, twitter, email etc..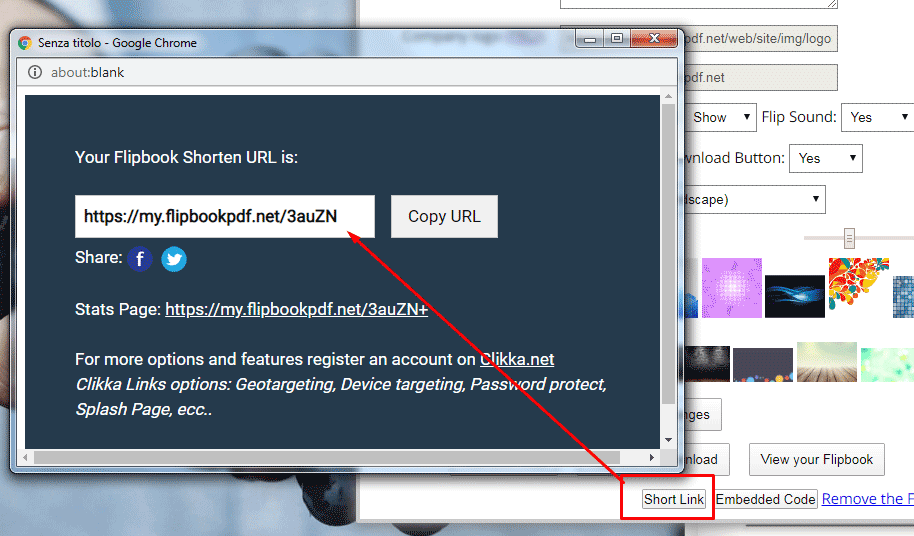
You will also have for free the access to stats of daily/monthly viewers, geolocalization, referrers, Social Shares etc..
Have you created several flipbooks and now you would like to show and share them through a digital and virtual bookshelf? Below you will find out how to create a virtual Bookshelf with all your digital books / flipbooks
CLICK HERE TO OPEN THE GUIDE
Go in your admin link and click on the button "Embedded Code". You have to copy the code and paste it in the page you want to display the flipbook (you can only change the width and height values). We suggest to use the code with image+link, but you can also use the iframe code. In wordpress you can edit a post and in the Text tab copy and paste the code, as shown in the following image: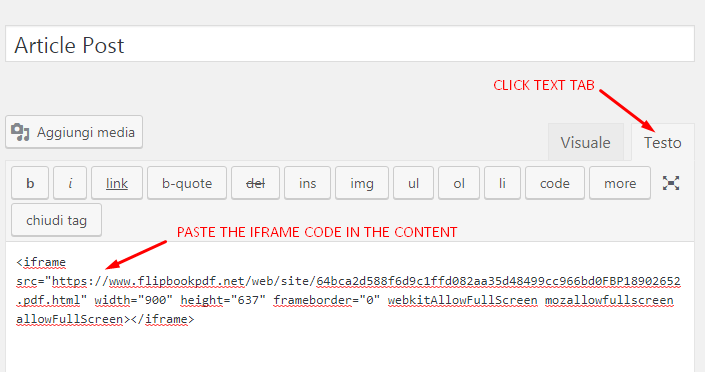
For responsive iframe try to use this kind of code
After the license purchase you will receive the credentials to access to your Member Area.
At your first access you will see this screenshot, you have to go at the bottom of the page in the "Create a New FlipBook" form, import your PDF and convert it to flipbook.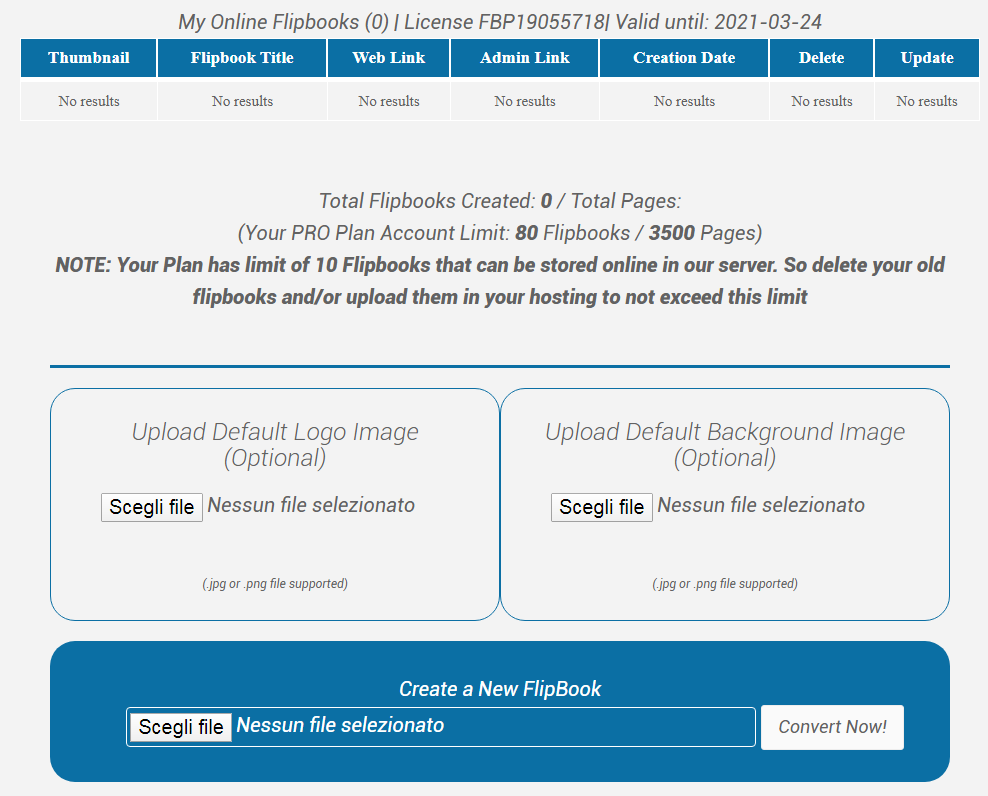
In the member area you will see your currently online flipbooks and you will have the limits of your plan under control.
Member Area Screnshot: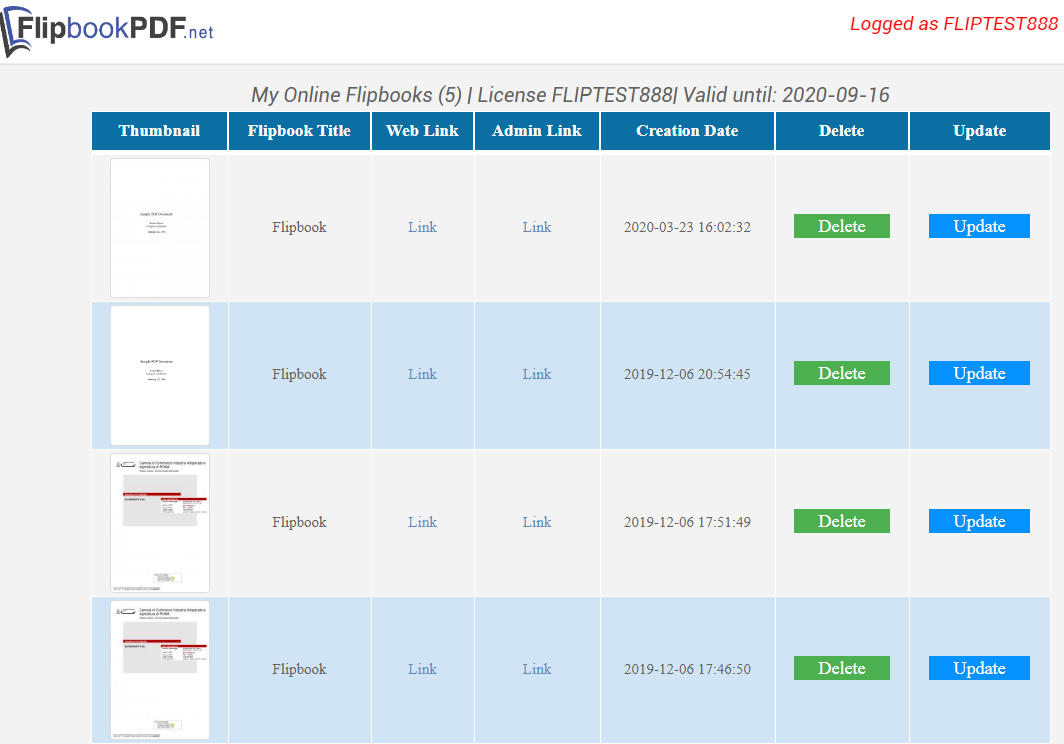
Login with your credentials in your Member Area.
Import and convert your PDF in flipbook from the form at the bottom of the page
Open the "admin link" of the flipbook and delete the url in the Logo and Backlink fields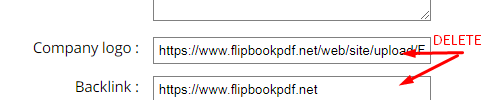
Click SAVE CHANGES button
Login with your credentials in your Member Area.
Go to the form "Upload Default Logo Image" and select your logo image from your PC (.png or .jpg format)
Now if you open or convert new flipbook, you will see your logo in the bottom left of flipbook page.
NOTE: This logo will be applied to all the flipbooks created in your account. If you want to use different logos for your flipbooks you have to go in the admin link and set the FULL LOGO URL in the company logo field.
NOTE2: If you don't see your logo, please delete the cache of your browser and login again in your Member Area.
Login with your credentials in your Member Area.
Go to the form "Upload Default Background Image" and select your background image from your PC (.png or .jpg format)
Now if you convert a new flipbook, your background will be automatically applied.
For previously created flipbooks, open the "admin link" of the flipbook and select your new background image (last thumbnail)
NOTE: If you don't see your new background, please delete the cache of your browser and re-open your flipbook.
You have to access to admin link of your flipook and click on DOWNLOAD button to download your flipbook files locally on your PC.
The download zip will contain all files (images, html and javascript files) ready to be uploaded in a directory in your hosting. You have to extract the files from the zip and then upload all files in a new directory on your hosting, via FTP or File Manager.
In this way the flipbook can be opened with your domain name (e.g. http://mydomain.com/myflipbook/ )
If you want to test before uploading, you can open the file "index.html" in the browser.
Q: I downloaded the flipbook and the links are not working, why?
R: The links work only if you upload the flipbook files in your server/hosting.
Q: I downloaded the flipbook and the download PDF icon does not appear (it does not work), why?
R: In downloaded flipbook the pdf icon is hided because you have to link the pdf on your server, these are the operations to do:
1) Open the index.html file with text editor (eg Notepad2) and find the line
Access to your Member Area, find your flipbook in the table and click on UPDATE button.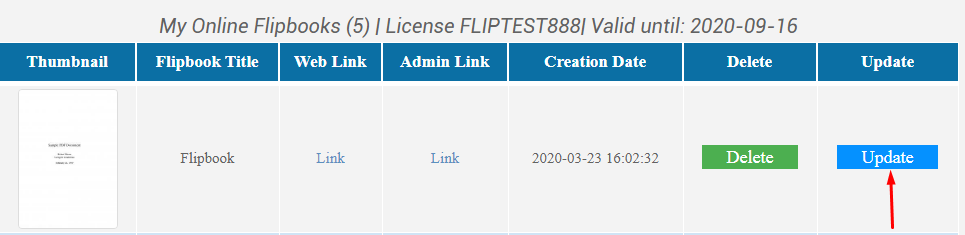
Then you have to upload your new PDF file and the system will convert and overwrite the exisiting flipbook with the new pages. The url of the flipbook will not change.
You have to access to admin link of your flipook and click on "Short Link" button.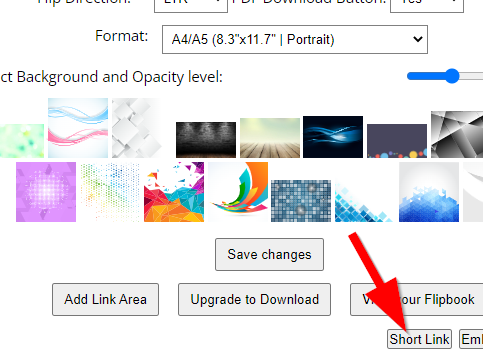
It will open the website of TinyURL with your short link URL. You can also create the QR code, see image below.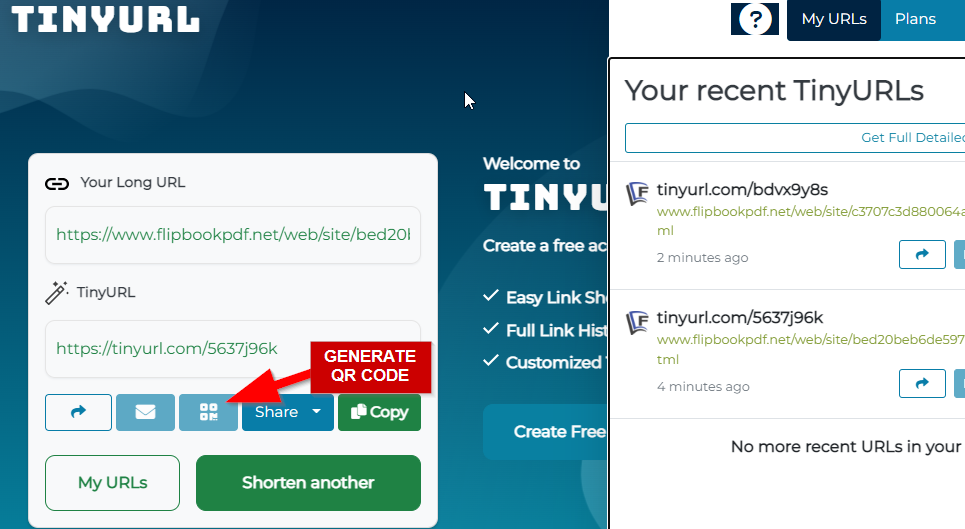
You can also create a QR Code directly in your Chrome browser: On the right of the address bar, click Share  .
.
Please contact us via contact form and we will help you.
The license is valid 1 Year. We have NO automatic renewal. After a year you will have to manually renew otherwise your license will be disabled and you will not be able to access to your Member Area anymore. If you don't renew your license within 30 days after the expiration date, all your flipbooks will be deleted from our server.
Yes, after the payment you will receive the invoice automatically from PayProGlobal (our payment gateway).
Secure online credit card transactions are processed by PayProGlobal system that uses advanced automatic and manual anti fraud system. In some cases, a phone verification is required to approve the transaction.
PRO Plan limitations:
- Total # pdf conversions: 80
- Total # pages conversions: 3500
- Total # online/hosted flipbooks: 10
If even one of above limits is exceeded you will need to upgrade to the upper plan.
BIZ-20 Plan limitations:
- Total # pdf conversions: 160
- Total # pages conversions: 7000
- Total # online/hosted flipbooks: 20
If even one of above limits is exceeded you will need to upgrade to the upper plan.
BIZ-30 Plan limitations:
- Total # pdf conversions: 240
- Total # pages conversions: 10500
- Total # online/hosted flipbooks: 30
If even one of above limits is exceeded you will need to upgrade to the upper plan.
BIZ-50 Plan limitations:
- Total # pdf conversions: 400
- Total # pages conversions: 17500
- Total # online/hosted flipbooks: 50
If even one of above limits is exceeded you will need to upgrade to the upper plan.
As per our terms and conditions, we support up to 10,000 visits per flipbook. If you expect higher visitor traffic, you have to download the flipbook and upload it to your hosting.
For Free users contact us and send us your flipbook link and admin link to delete.
For PRO/BIZ users, please access to your Member Area and click on DELETE button 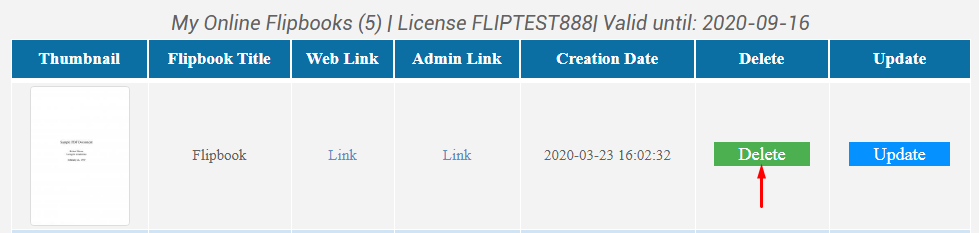
>The flipbook created with out service can be indexed by the search engines. if you don't want this to happen, open the admin link of your flipbook and add in the TAG PAGE TITLE three dashes.
For example you can type the page title tag "My Flipbook --- "
In this way in your flipbook html will be automatically added the meta tag "noindex" that will stop google to index your flipbook.
Then click Save Changes button.
To add a password to your flipbook, you can download your flipbook, create an encrypted index.html page with this service: https://www.maxlaumeister.com/pagecrypt/ and finally upload the password protected flipbook in your server. Alternatively we can host your password protected flipbook but it has an extra cost.